
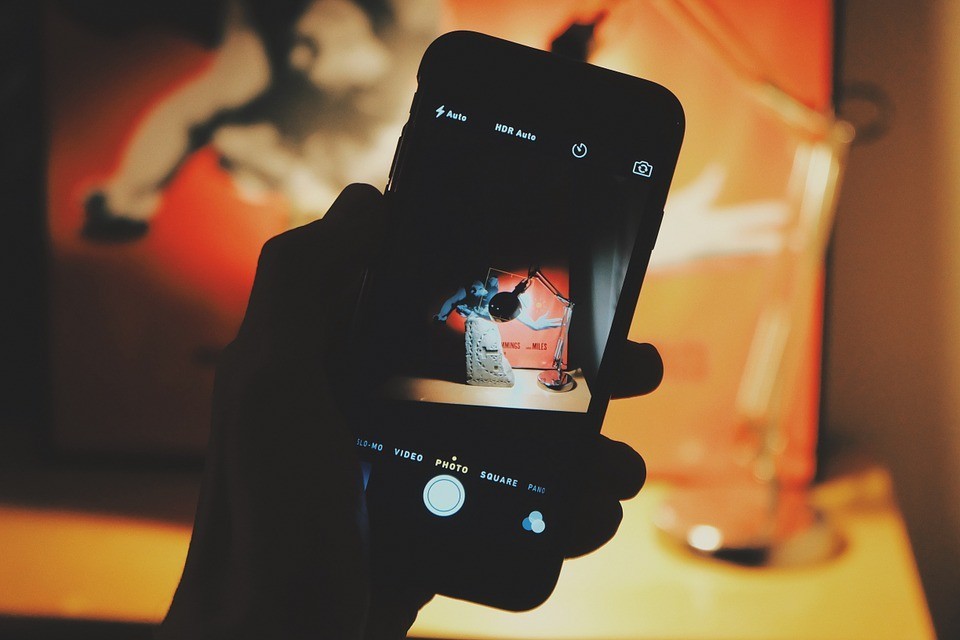
In this quick tutorial, we’ll go over the basics of taking good quality photos of your products to use on your website and social media pages.
With today’s technology, mobile phone cameras are more than adequate to take decent product shots. If you are not too familiar with how the settings work on your phone’s camera please check out the following links before continuing with this tutorial.
Samsung Camera – https://www.samsung.com/au/getstarted/camera/
iPhone Camera – https://www.apple.com/au/iphone/photography-how-to/
If you have a different model smart phone – do a quick google search “[Phone Model] How to use camera” and find the instructions for your device.
Quality
After reading through your instructions, please ensure your phones camera quality is set to its highest setting. This will ensure any printed material will also be high quality. Try to avoid taking images off Facebook as it usually gets compressed to a lower quality may be unsuitable for use.
Lighting
There is still ways you can capture good images to showcase without access to green screens, tripods and lighting equipment. Find a good location outside, whether it be at a park, beach or a local creek. Using the natural light of the sun you can take stunning images in a nice location which can set the mood/feel of your products.
If you have some familiarity over the manual camera settings on your phone you can adjust these to get different colour tones and create more depth. Otherwise using Auto – the phone will adjust the settings according to your environment.
Blurring & Shaking
If you have access to a tripod, this would be the best way to capture your image minimising camera shake and blurring. You can also improvise by using a bag, or some rocks to prop up the camera as needed or rest it on a ledge or the ground to stabilise the camera while shooting.
Another technique is to keep your elbows to your side and if possible find a tree or pole to lean up against.
Composition
In your phones setting, there should be an option to show an onscreen grid. This will help you better align your composition. Capture many angles and experiment to see what looks best.
Post Image Editing
While it may be easy to get carried away with filters and effects. It would be best to leave the image unaltered as possible. It would be ok to boost the colours slightly and crop the image as needed, however for the use of showcasing your products – it’s best to keep it simple to avoid the image looking different to the physical product.
You can make adjustments to the image within your camera app, or you can download a 3rd party image editor from your phone’s app store.
Sending Your Images
There are many ways to send your images. The best way to submit your images is either by email – or uploading them through our registration form.
Via Email – Start by composing an email to design@completebs.com.au and select attach file (usually looks like a paperclip) Select the photos you’d like to send from your phones gallery. Please include any instructions in the email message if required.
Via Registration Form – As you fill out the registration form on the Indigenous Artist Hub website, you will be prompted to upload files. If you’re doing this from your computer you need to ensure that the images you wish to upload are on your computer, otherwise you may need to plug your phone in and copy them across. If you are registering on your phone/device, you can add the images straight from your camera roll.
That’s It!
If you need further assistance, please don’t hesitate to get in touch via our contact form. (Below)
Contact Us
Office: Level 1, 59 McLeod Street, Cairns City QLD 4870
Postal: PO Box 8009, Cairns QLD 4870
Telephone: (07) 4000 4141